
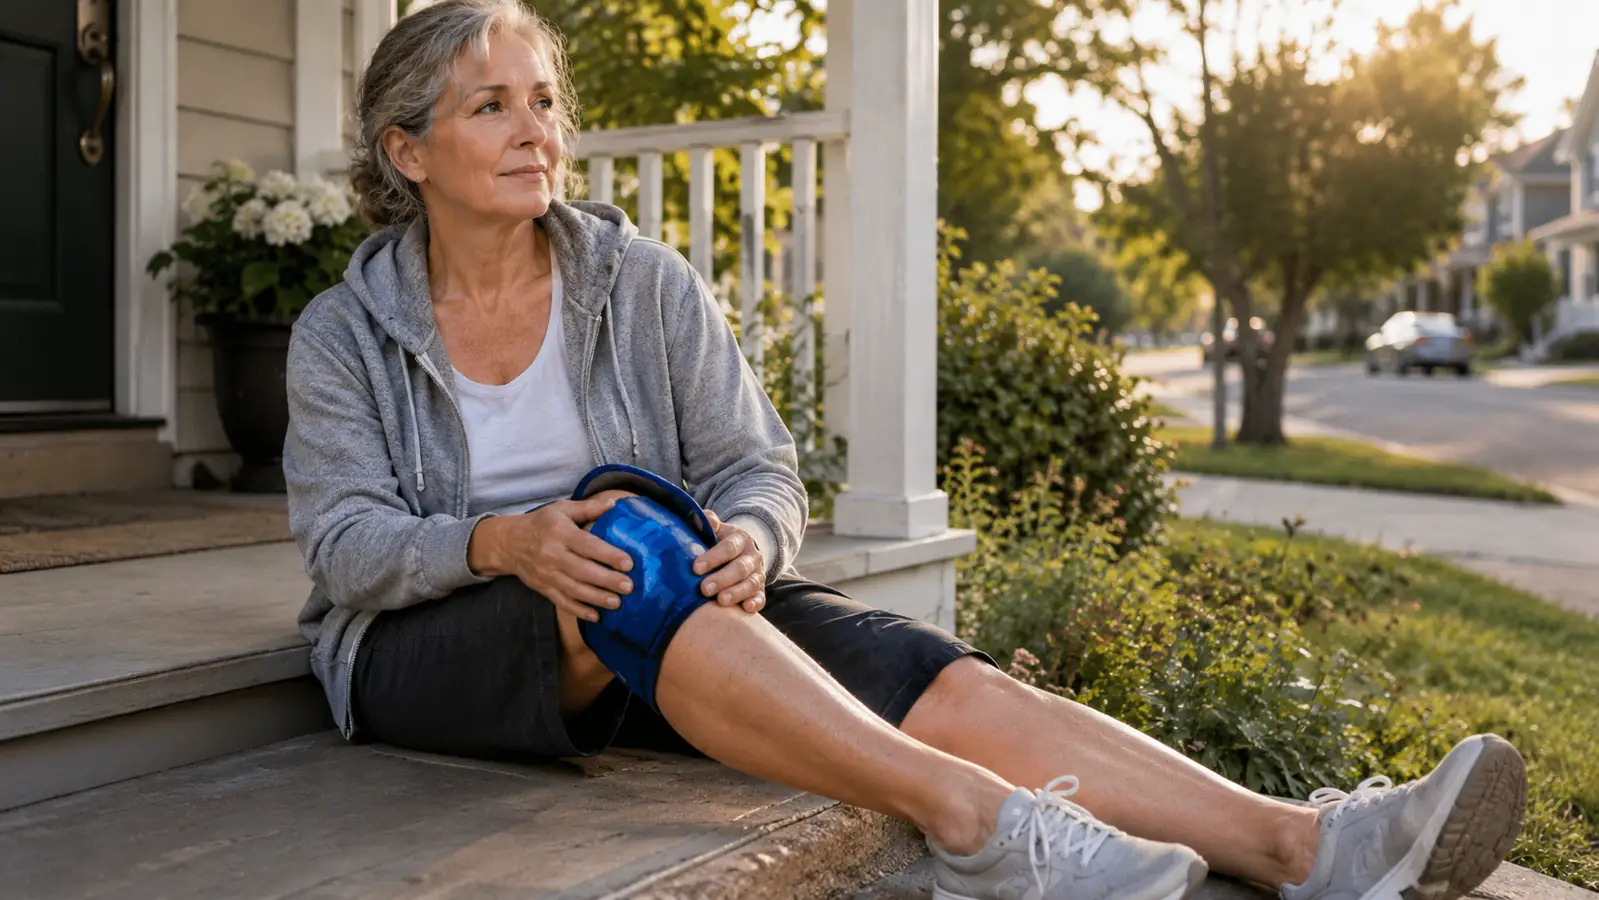
The first time my left knee swelled up after a long walk, I did what most people my age do: I limped inside, put my feet up, and told myself it would settle down by morning. Sometimes it did. Other times it was still stiff when I got out of bed, which made the stairs feel twice as long. My name is Gail Whitford, I am 62, and I have mild to moderate osteoarthritis in my left knee. I am not a doctor and I am not giving medical advice. What I can tell you is what has actually helped me calm knee swelling after a long walk, and the Vive Knee Ice Pack Wrap has been part of my routine for the past year.
I want to be clear about something before we get into the steps: icing a swollen knee is not the same as fixing the reason it swelled. If your knee is hot, red, or painful in a new way, or if the swelling does not go down after a few days, check with your doctor or a physical therapist. What follows is the routine I use on ordinary days, after an ordinary walk, when my knee is achy and puffy but nothing feels truly wrong.
A cold wrap that stays put while you sit and ice
The Vive Knee Ice Pack Wrap is the one I reach for after long walks. It wraps around the knee, closes with secure straps, and holds the cold right where the swelling is. Check today's price and current reviews on Amazon.
Amazon Check Today's Price on Amazon →Step 1: Cool the wrap down flat, before you need it
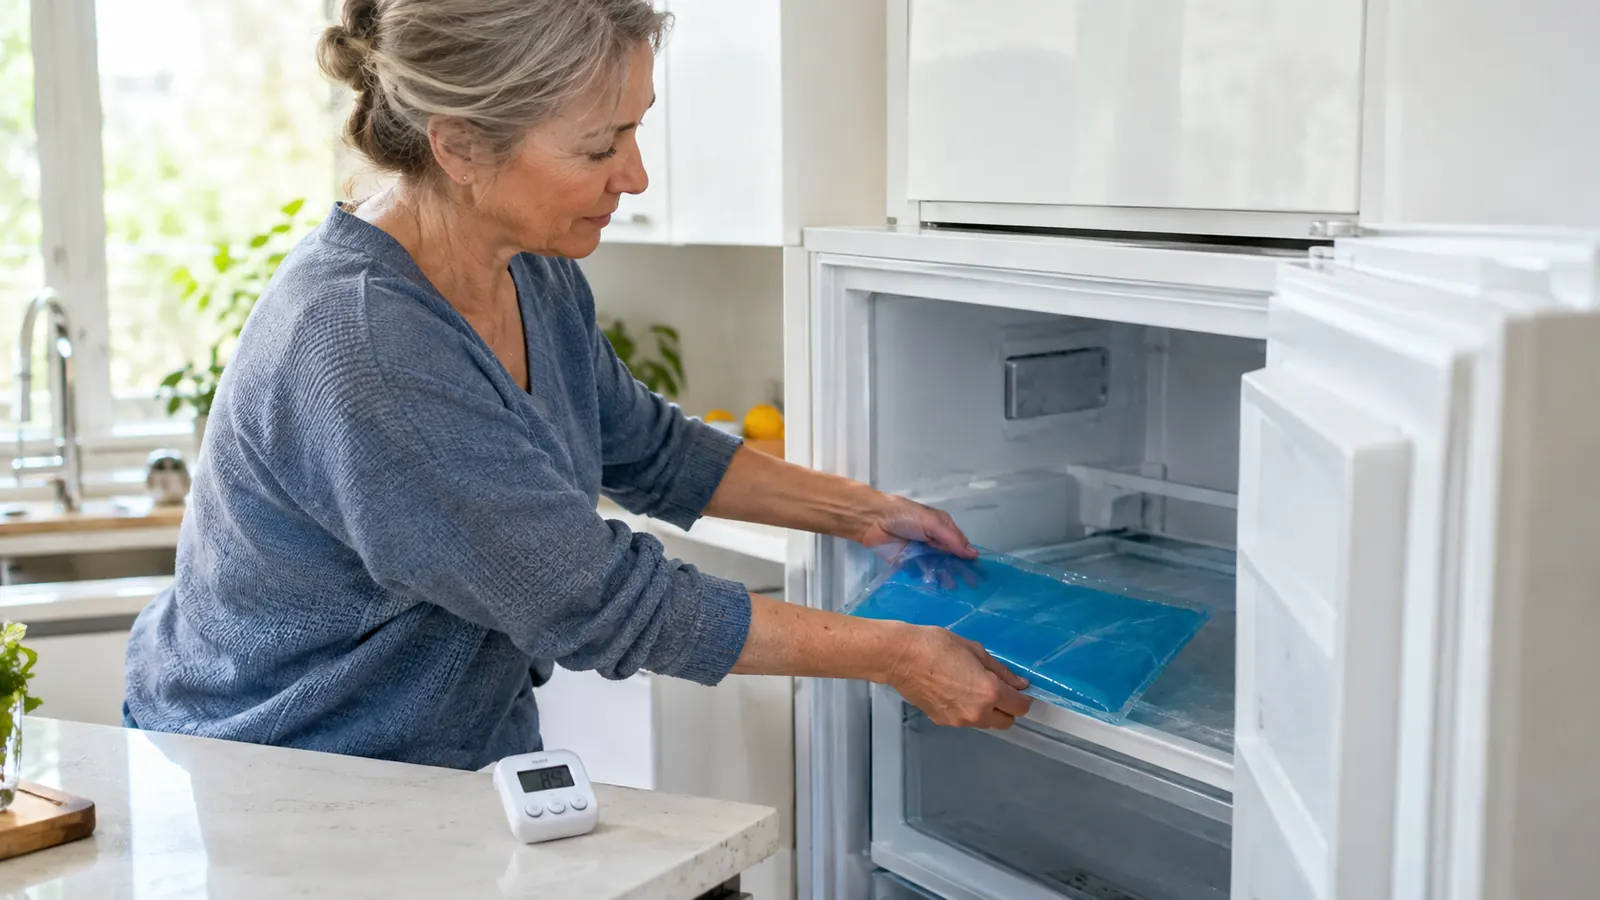
The Vive wrap has flexible gel packs that slide into a padded sleeve. The instructions say to freeze the gel packs, and I have learned the hard way that how you freeze them matters. Lay them flat in the freezer, not curled around a bag of peas, not stacked under a casserole dish. When they freeze flat, the whole pack sits evenly against your knee. When they freeze in a curve, you get a cold spot in one place and nothing in another.
I keep one set of gel packs in the freezer all the time, so I never have to wait for them to get cold after a walk. If you only have one set, put it in the freezer the night before a long walk, or at least a couple of hours ahead. The packs stay flexible even when frozen, which is one of the reasons I like this wrap. They bend around the knee instead of feeling like a brick strapped to your leg.
One more thing: give the packs a quick feel before you use them. If they feel lumpy or the sleeve feels damp, wipe the sleeve down and check the seams. I have had a gel pack last for years, but I have also had one develop a slow leak. Catching it before you sit down saves you from a wet sweatpants leg and a mess on the couch.
Step 2: Do a few slow cooling-down stretches first
I used to come in from a walk and go straight for the ice. Then my physical therapist pointed out that my knee was still warm from moving, and that a few minutes of gentle cooling-down stretches helped the joint settle before I put cold on it. Now I do about five minutes of slow moves: standing calf stretches, gentle hamstring stretches, and a few slow knee bends while I hold the back of a chair.
I am not talking about deep stretching or anything that hurts. I am talking about easy movement that lets the knee know the walk is over. If a stretch makes your knee feel worse, skip it. The goal here is to get from walking to icing without a hard stop, not to add more strain to a knee that is already talking to you.
This is also a good moment to check in with yourself. How does the knee actually feel? Is it just tired, or is it swollen in a way that is different from usual? If it is hot to the touch or the swelling came on fast, that is worth mentioning to your doctor. If it feels like the normal ache you get after a long walk, go ahead and get the wrap ready.
Step 3: Put the wrap on over a thin layer, not on bare skin
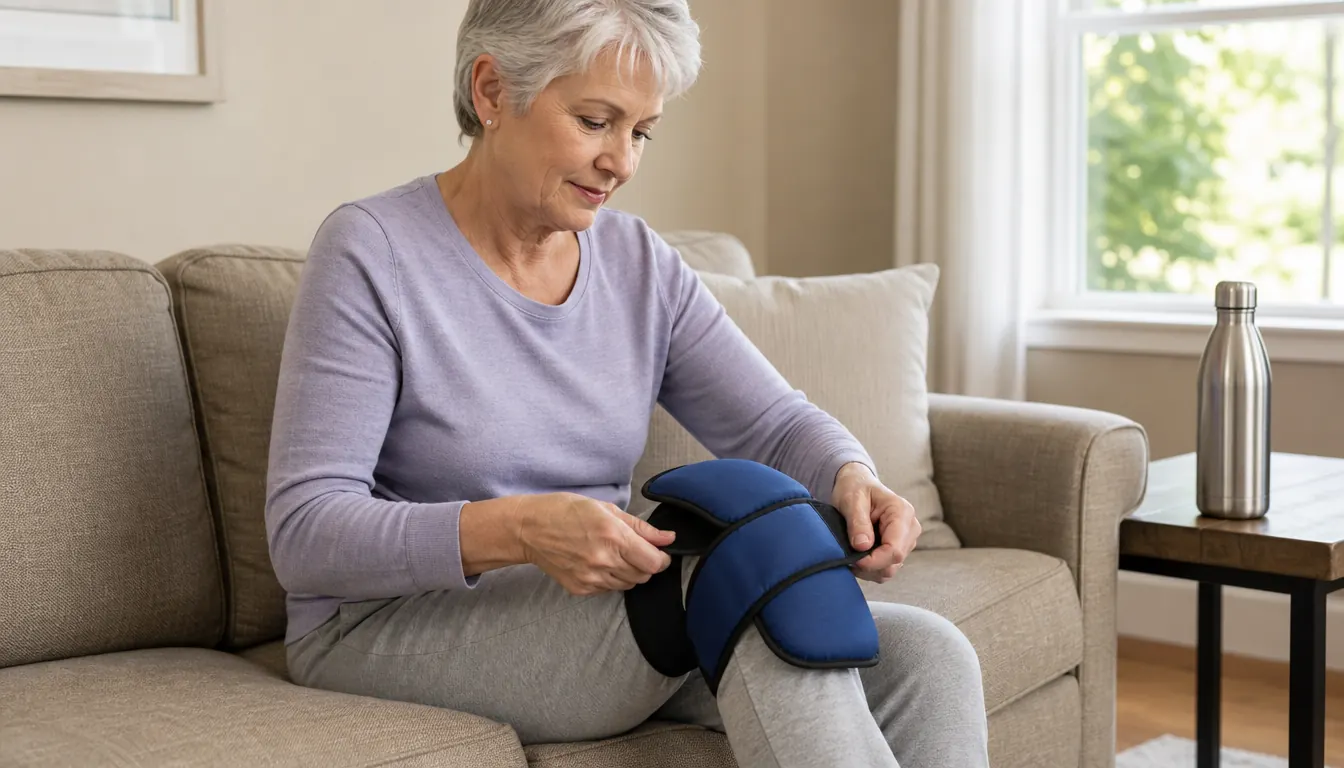
The Vive Knee Ice Pack Wrap comes with a padded sleeve that the gel packs slide into, and that sleeve is what touches your skin. I still prefer to wear it over a thin layer, like a pair of lightweight sweatpants or a long underwear bottom. The cold gets through fine, and I do not have to worry about the wrap feeling too intense against bare skin, especially in the first few minutes.
Position the gel packs so they cover the sides of the knee and the area just below the kneecap. That is where my swelling tends to show up. The wrap has long straps, and I have found that the best fit is snug but not tight. You want the packs held in place, not squeezed against the joint. If your leg falls asleep or the wrap leaves deep marks, loosen it.
The straps are long enough that the wrap fits over a bulky knee brace or a thick sweatpants leg, which I appreciate in the winter. The wrap does not care how your knee is shaped, and the fit is the same either way.
Step 4: Ice for 15 to 20 minutes, with your leg elevated
Here is the part where I used to get it wrong. I would leave the ice on for an hour because it felt good, and then my knee would feel worse the next day. My physical therapist set me straight: 15 to 20 minutes at a time is plenty. Set a timer, not your memory. I use the timer on my phone, and I put the phone across the room so I actually have to get up when it goes off.
While the timer runs, prop your leg up so the knee is above hip level. I stack a couple of couch cushions and put my heel up on them. Elevation helps fluid drain away from the joint, and it gives the cold wrap a chance to do its job without your leg doing any work. This is the part of the routine that has made the biggest difference for me, more than the brand of wrap or the exact gel pack.
How often you repeat this depends on how your knee feels and what your doctor or physical therapist has told you. On a normal day, once after my morning walk is enough. On a day when I have been on my feet a lot, I might do another 15 minutes in the evening, with at least a couple of hours between sessions. I never ice right before bed because the cold keeps me awake, but that is a personal preference, not a rule.
Step 5: Let the knee warm up slowly, then move it gently
When the timer goes off, take the wrap off and give your knee a few minutes to warm back up. I have found that jumping straight from cold to standing makes the knee feel stiff in a different way. I sit for a minute, wiggle my toes, do a few slow ankle circles, and then stand up carefully. If the knee feels better, I go about my day. If it still feels swollen, I make a note to mention it at my next physical therapy visit.
After the knee has warmed up, a little gentle movement helps more than sitting still for the rest of the day. I walk slowly around the kitchen, do a few knee bends while holding the counter, or work in the garden for a bit. The idea is to keep the joint moving without loading it heavily. A short, easy walk the next morning is usually a better test of how the knee is doing than anything I can feel right after icing.
This is also when I put the gel packs back in the freezer, flat, so they are ready for the next time. The Vive wrap dries quickly if you wipe the sleeve down with a damp cloth, and the whole thing stores easily in a kitchen drawer or on a shelf in the laundry room. I keep mine in the freezer door with the gel packs, so the whole routine is in one place.
What Else Helps
Cold therapy is one tool, and it works best when it is part of a bigger routine. For me, that routine includes a short home exercise program from my physical therapist, walking most mornings at a pace where I can still talk, and paying attention to my shoes. I replaced my everyday walking shoes when the soles got uneven, and that alone took some pressure off my left knee. I also try to keep my weight where my doctor and I agreed it should be, because every extra pound is extra load on the joint.
I have tried other knee gadgets over the years, and I will be honest about the ones that did not earn their place. A compression sleeve helped during the walk but did nothing for swelling afterward. A foam roller felt good on my calf but did not change the knee. The Vive wrap is the one thing I keep coming back to after long walks, because it does exactly what I need it to do: it holds cold on the knee, stays put, and does not require me to hold it in place with a hand.
If you are new to icing your knee, or if your doctor has not given you specific guidance, start with the short sessions I described and pay attention to how your knee responds. Some people find that alternating cold and warm helps, but I have stuck with cold because that is what my physical therapist recommended for swelling. And if you are not sure whether icing is right for your situation, ask. A quick question at your next appointment can save you weeks of guessing.
The single biggest change for me was not the wrap itself, it was the routine: five minutes of easy stretches, 15 to 20 minutes of cold with my leg up, and a slow warm-up before I stood.
Keep the Vive Knee Ice Pack Wrap ready in your freezer
If you have a knee that swells after long walks, a wrap you can grab without thinking about it makes the difference between actually icing and talking yourself out of it. The Vive Knee Ice Pack Wrap is the one I keep ready. Check today's price on Amazon.
Amazon Check Today's Price on Amazon →